LED Sign Education
Your investment requires a sign company with strong expertise and experience. We've made it our mission to equip you with the best information on the technology, application, and substantial benefits of LED signs.
Basics
An LED display is made up of an array of pixels, multiple points of light appearing as dots. These pixels light up in different combinations, forming text, images and video clips on the display.
The pixel pitch or center-to-center measurement is the distance from the center of one pixel to the center of the adjacent pixel. Pixel pitch is measured in millimeters, such as 6.67mm, 8.88mm, 10.66mm, or 16mm.
The matrix size of a sign is the number of pixels vertically by the number of pixels horizontally. For example, if a sign has a matrix of 60x270, this means it has 60 pixels from top to bottom and 270 pixels from left to right. A larger matrix allows for more text and more image detail to appear on the display. The matrix may also be referred to as the resolution of the display.
Comparisons
The image and text capabilities of your new LED sign will depend on the pixel pitch and matrix size of your display. Use the following videos to compare these differences at different viewing distances.
Select video:Although we've provided these videos for you to compare products, nothing beats seeing our LED signs in-person. Use our Signs in Your Area feature to find LED signs near you!
Definitions
LED
A light-emitting diode (LED) is a semiconductor device that illuminates when electricity passes through it. LEDs do not contain filaments like regular light bulbs, and do not have delicate parts that break or burn out over time. Our LEDs are rated for 100,000 hours of use. Even with every LED lit, that would be over 11 years of constant use at full brightness!
Pixel
A pixel is a point of light. An LED display is made up of an array of pixels, multiple points of light appearing as dots. These pixels light up in different combinations, forming text, images and video clips on the display. The more pixels that are in a display, the higher its resolution.
Pixel Technology
In general, there are two types of pixels: DIP (dual in-line package) and SMD (surface mount diode). The type of pixel used depends on the distance between them. Both technologies allow for an enormous number of colors to be produced on the display. Full-color displays allow for the most vibrant and eye-catching messages.
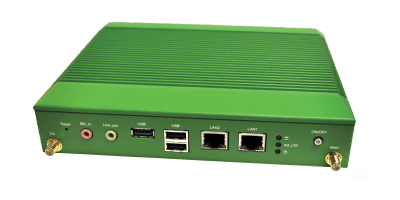
Controller
The controller is the "brain" inside of an LED display. Our signs include powerful and rugged industrial PCs for maximum performance and longevity. These solid-state devices contain no moving parts, and are designed for extreme environments.
Communication
LED signs require access to the internet in order to work with our
SignCommand® cloud-based software.
This can be done through a wired Ethernet connection, short-range wireless radios or a cellular connection.
Brightness
There are two important things to consider related to sign brightness:
how well and how long it will compete with the sun.
Our LEDs are among the brightest available to provide you with a sign that will be
visible 24 hours a day for years into the future.
How well a sign competes with the sun.
Ensuring that your sign is readable during the day is vital to the success of having passers by read your sign. The brighter the display, the better able it is to compete with the sun.
How long a sign competes with the sun.
LEDs do not burn out, however they do grow dimmer with use. Starting with a brighter display ensures that your investment will be readable for many years into the future.
A nit is a unit of measurement for the brightness over one square meter of a display. This value takes into account the number of LEDs per pixel, pixel pitch and individual LED brightness. Your sign's nit rating can help you determine which sign is a better value when comparing products and companies.
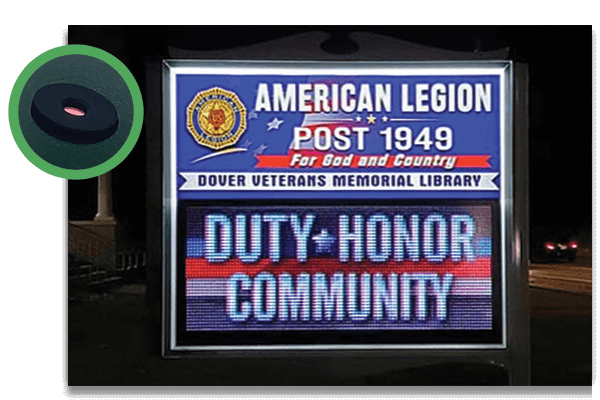
A light sensor will automatically brighten the display in daylight, and dim it for nighttime application. This ensures proper brightness levels and prolongs the life of the display.
Support

Our in-house and US-based Customer Support team is available to assist you with any questions or issues that may arise. From comprehensive software tutorials to quick parts turn-around, we have you covered.
This pledge ensures that your sign will be up-and-running for many years after installation.
See warranty for details.
Display Size
One of the most important decisions when purchasing an LED display is determining the appropriate pixel pitch and physical size.
These are influenced by several factors including how the sign will be used, the distance to and speed of the audience, and any zoning restrictions to name a few. Please speak with your sales representative to better understand which display is suitable for your application. The recommended minimum and maximum viewing distances of an LED display are based on two characteristics: the pixel pitch and the display's physical size.
Minimum Viewing Distance
The minimum viewing distance is determined by the display's pixel pitch. If the display is viewed at a distance closer than the minimum, messages will still be readable but will appear pixelated to the viewer.
- 6.67mm pixel pitch = 6.7 meters (approximately 22 feet)
- 8.88mm pixel pitch = 8.8 meters (approximately 29 feet)
- 10.66mm pixel pitch = 10.6 meters (approximately 35 feet)
- 16mm pixel pitch = 16 meters (approximately 52 feet)
- 20mm pixel pitch = 20 meters (approximately 65 feet)
Maximum Viewing Distance
The practical maximum distance a sign can be seen from is 10 times the display's square footage. Any viewing distance greater than this calculation will decrease the readability of the sign and its ability to attract attention.
Examples:
- 2' x 7' display = 14 square feet. Multiplied by 10 = 140 foot maximum.
- 4' x 11' display = 44 square feet. Multiplied by 10 = 440 foot maximum.
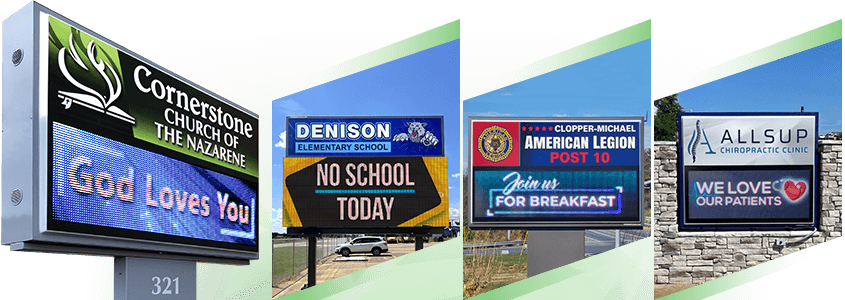
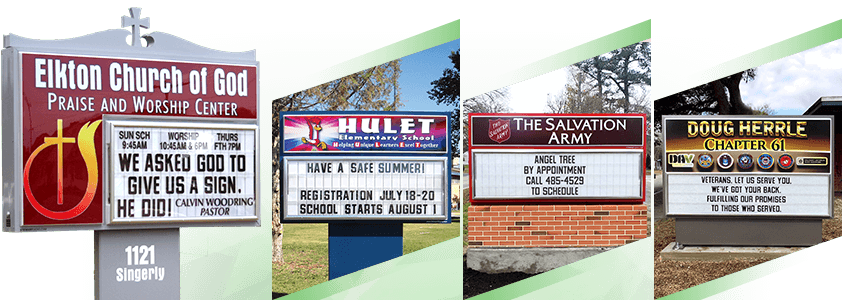
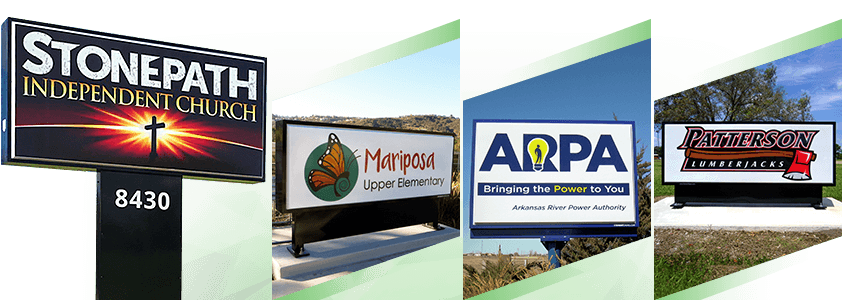
Outdoor LED Signs
An outdoor sign with an electronic message center.
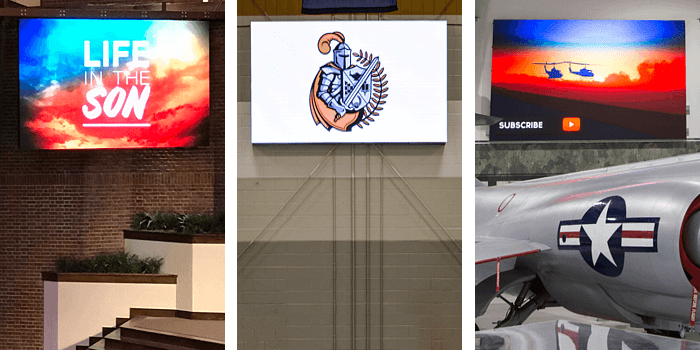
Indoor LED Displays
An indoor video wall or other indoor digital display.
Changeable Letter Signs
An outdoor sign with movable plastic letters.
Light Box Signs
An outdoor sign with only the organization's name and artwork.
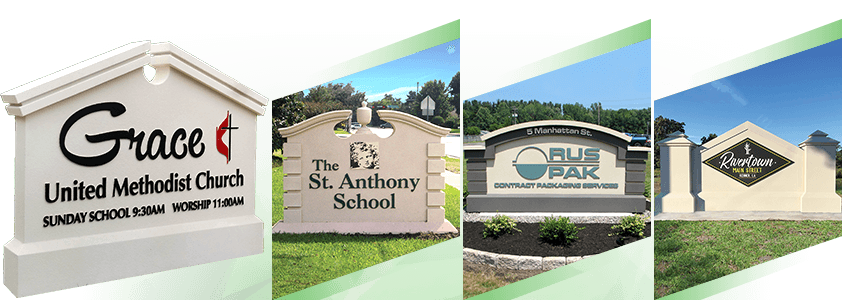
Monument Signs
An outdoor sign with a stone or masonry appearance.
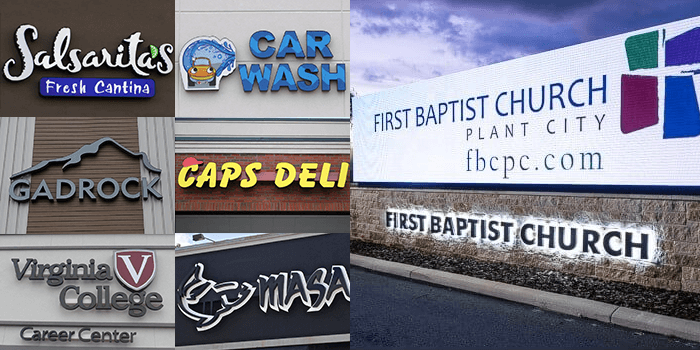
Channel Letters
Lighted or non-illuminated individual letters.